Week 1
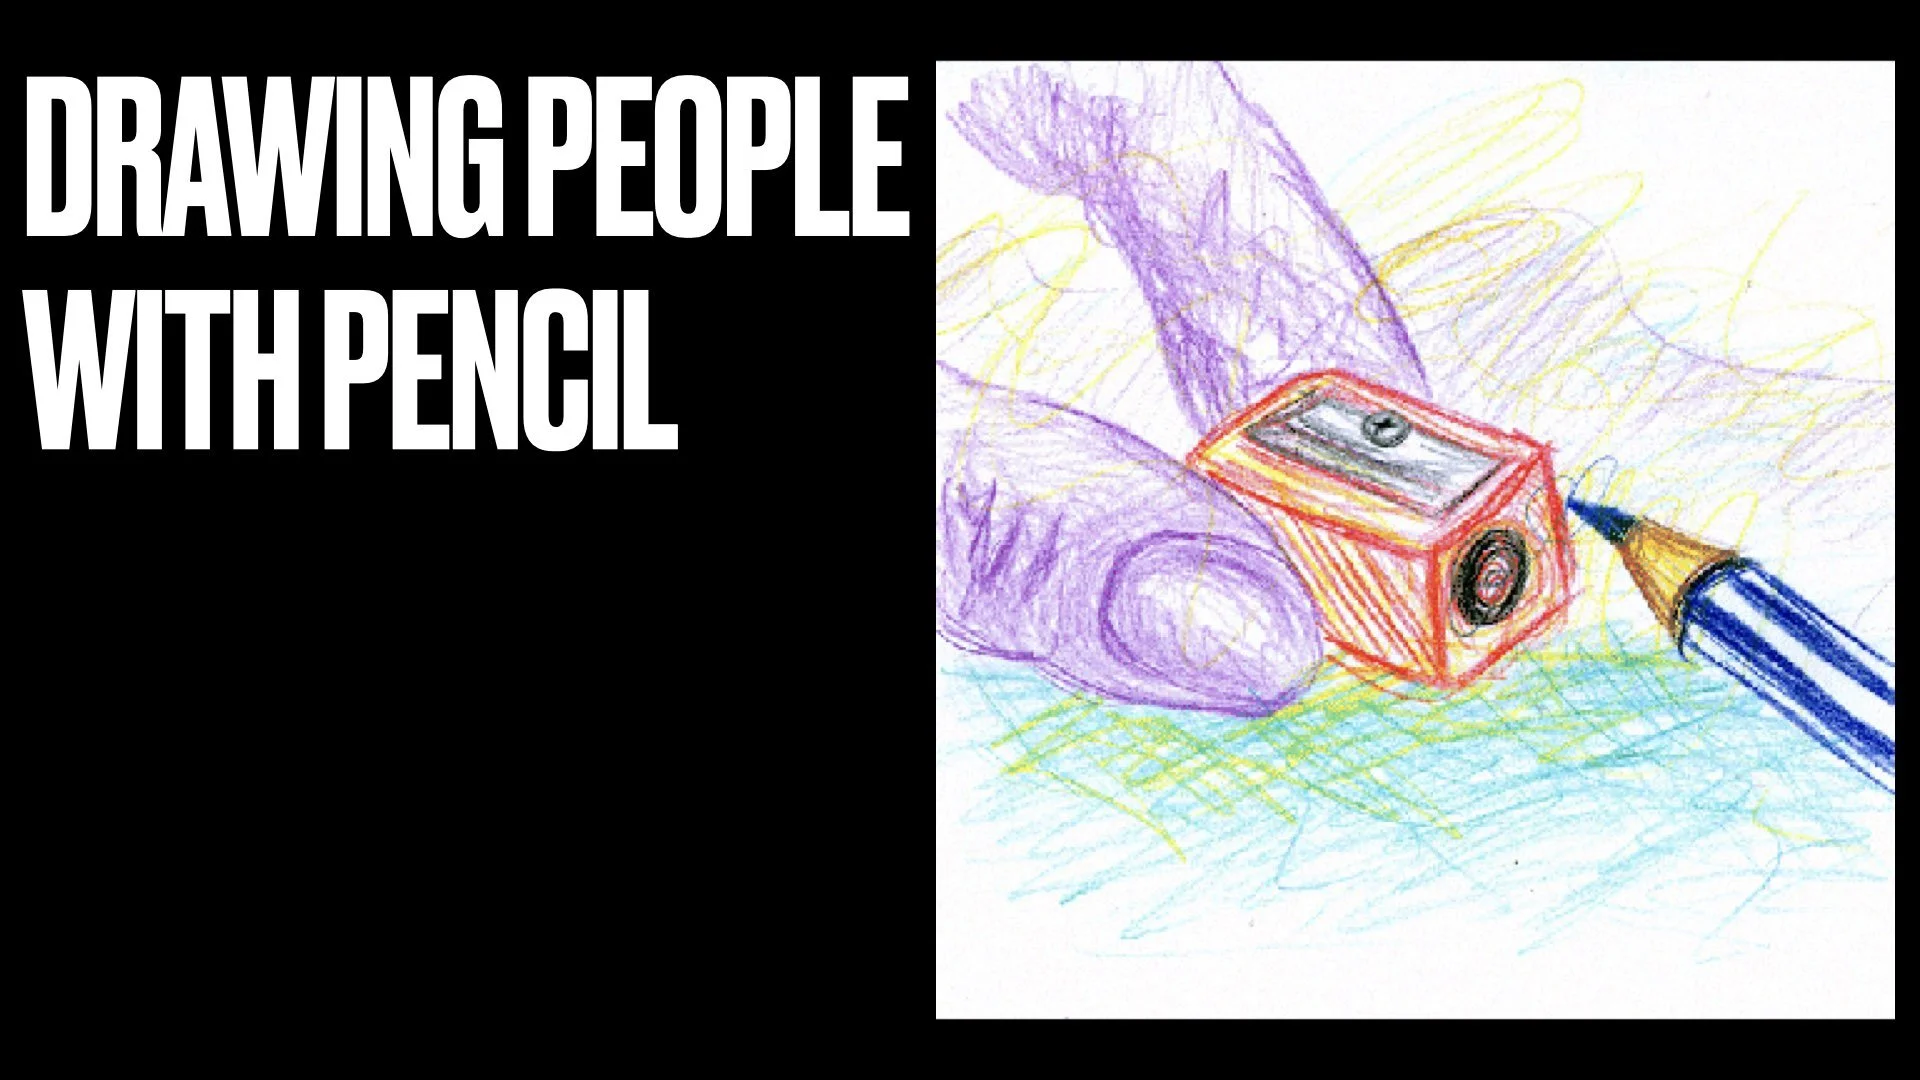
In this introductory session the focus is on feeling comfortable and confident with using pencils to draw the human face. Our primary intent is to re-train our brains to understand that how we expect the face to look and how it really is are very different.
Below are the slides from the first session, notes on the process and some extra photos to use for homework if you want ☺️

The process we used:
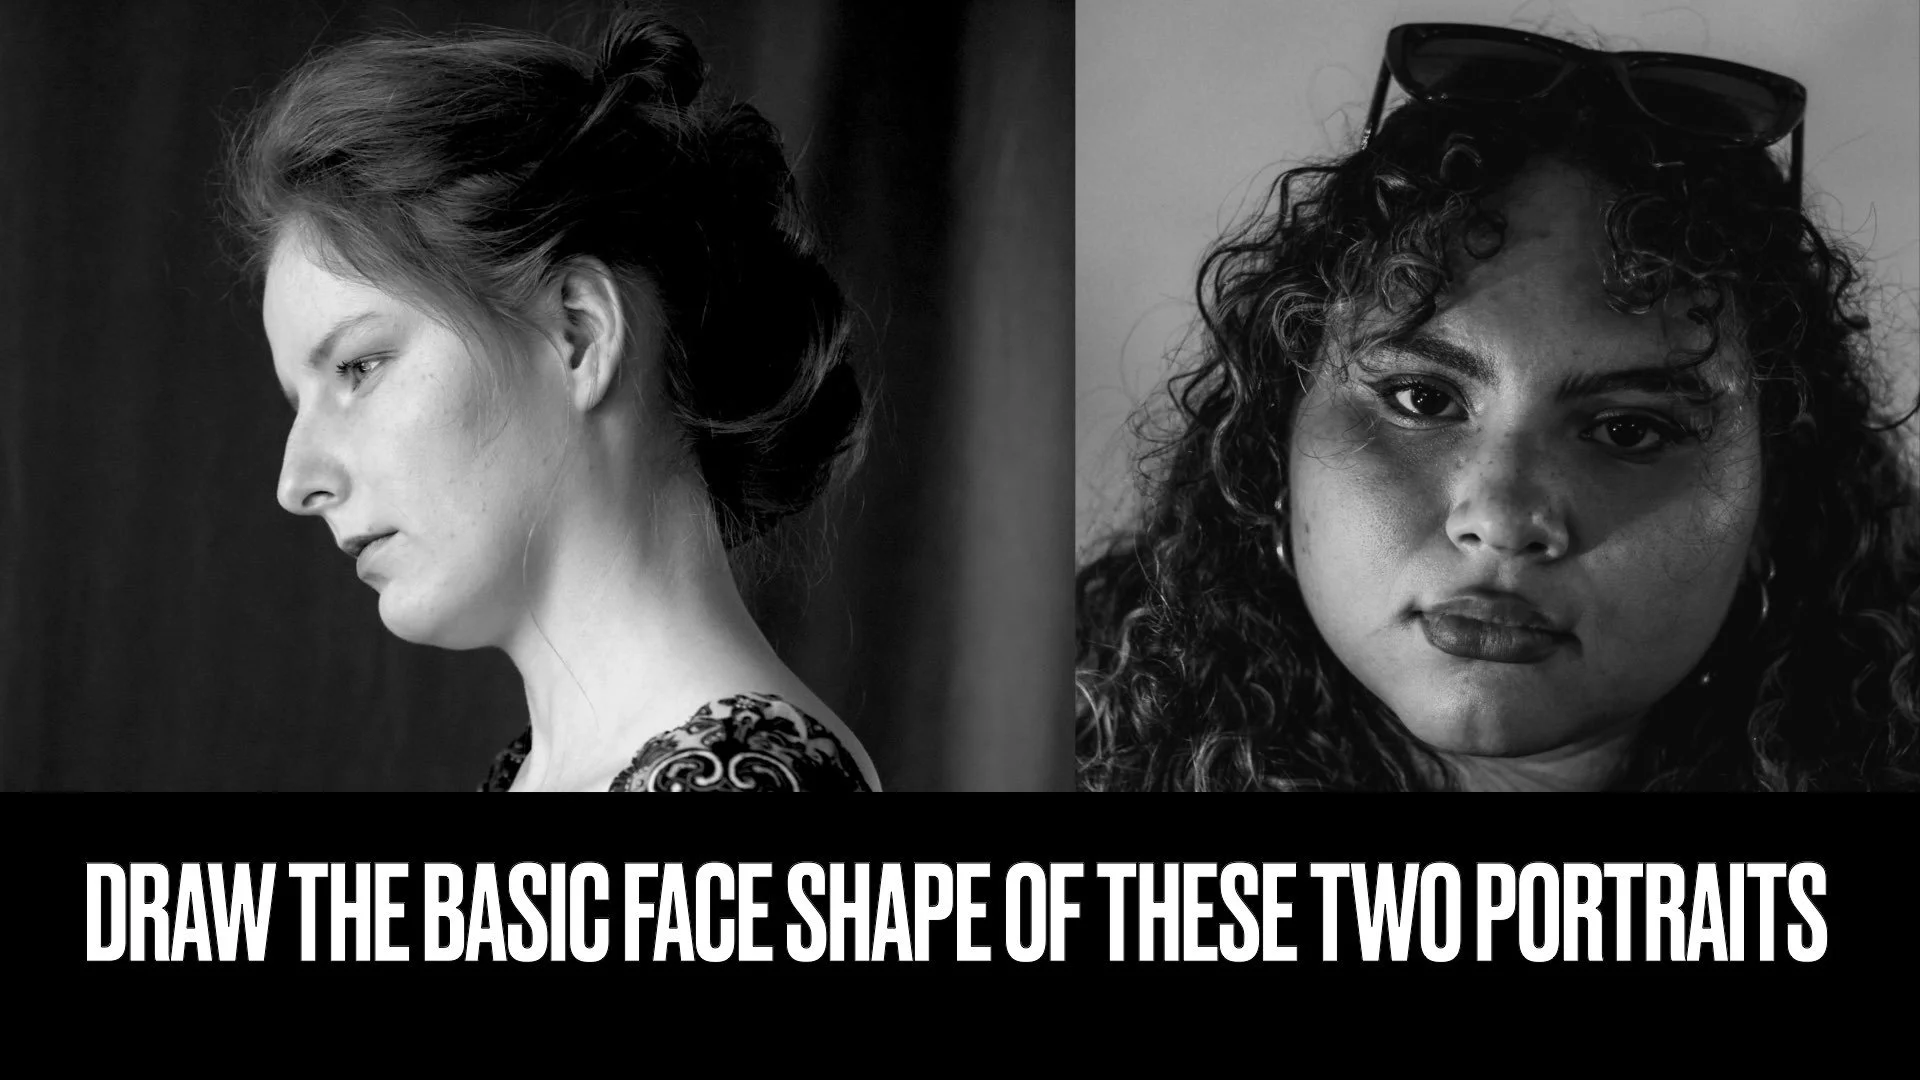
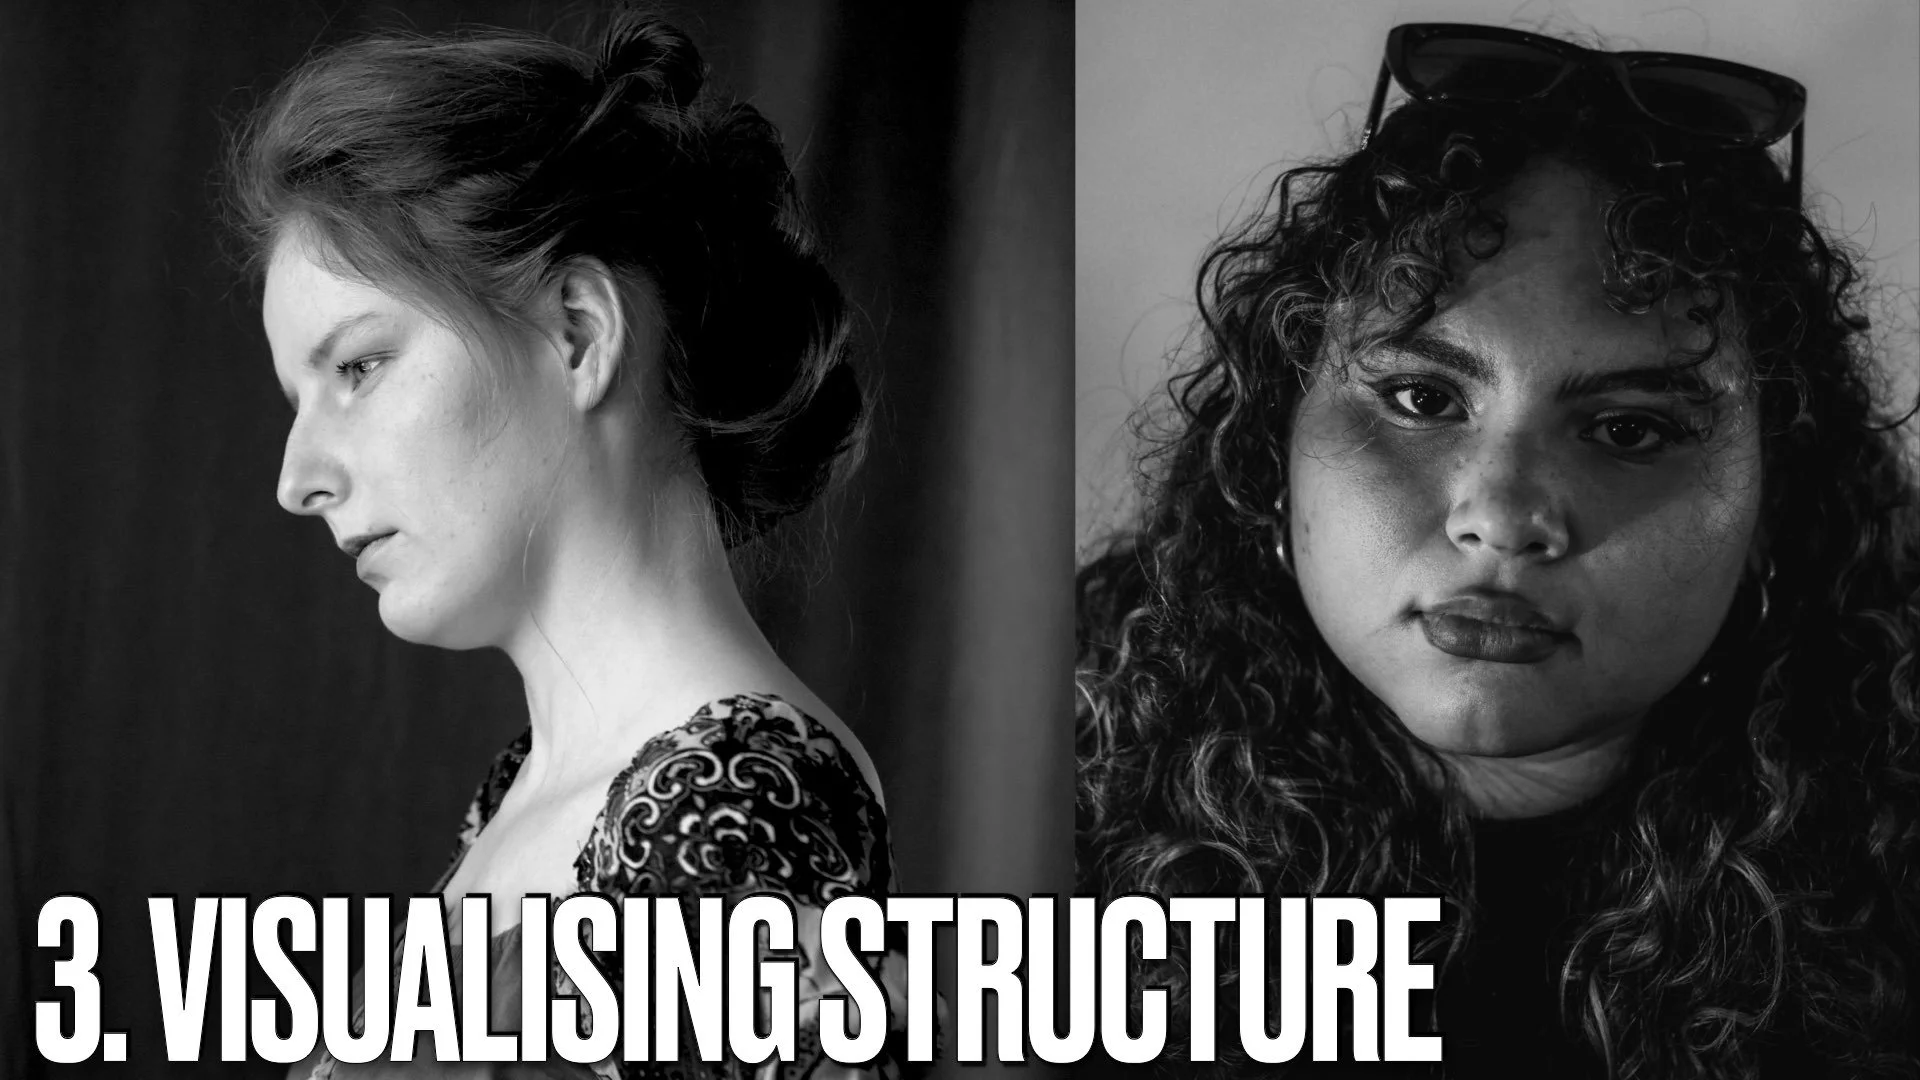
Test out drawing the basic face shape of the photo in whatever way you naturally draw.
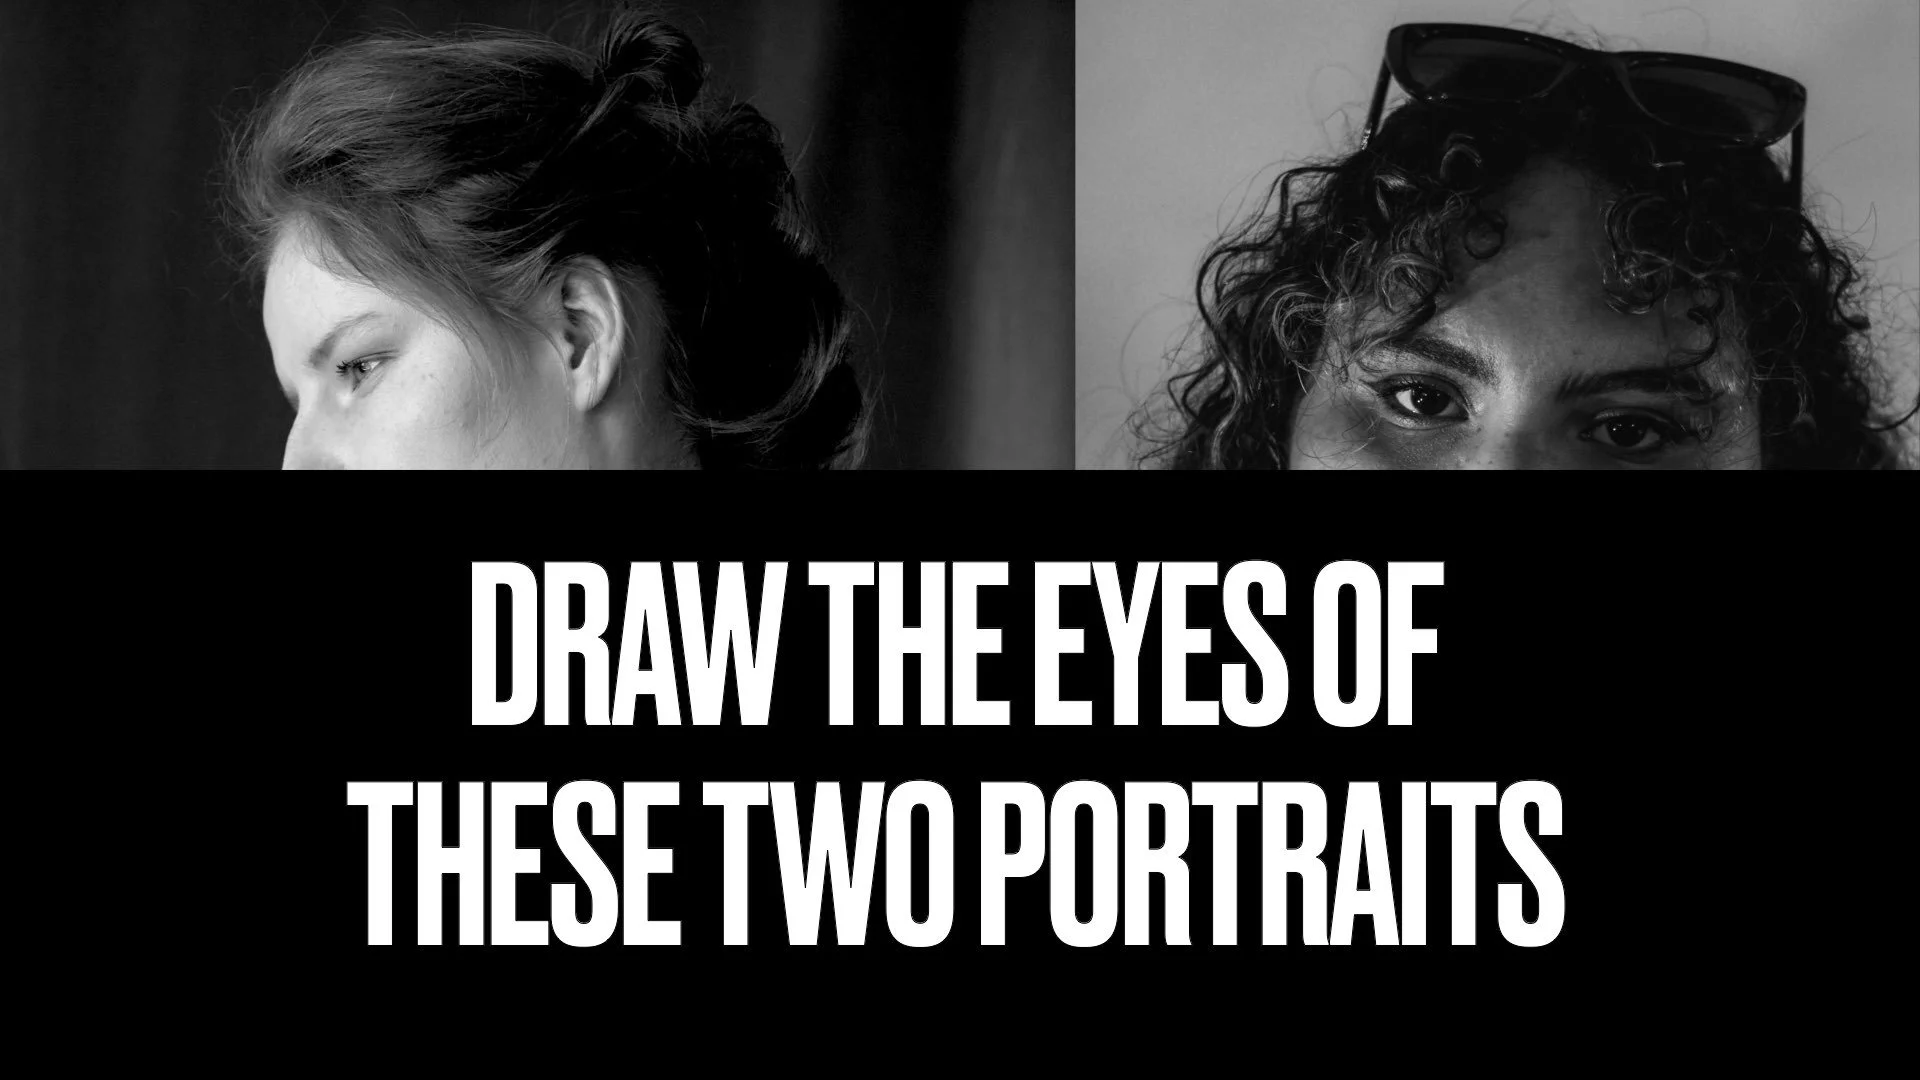
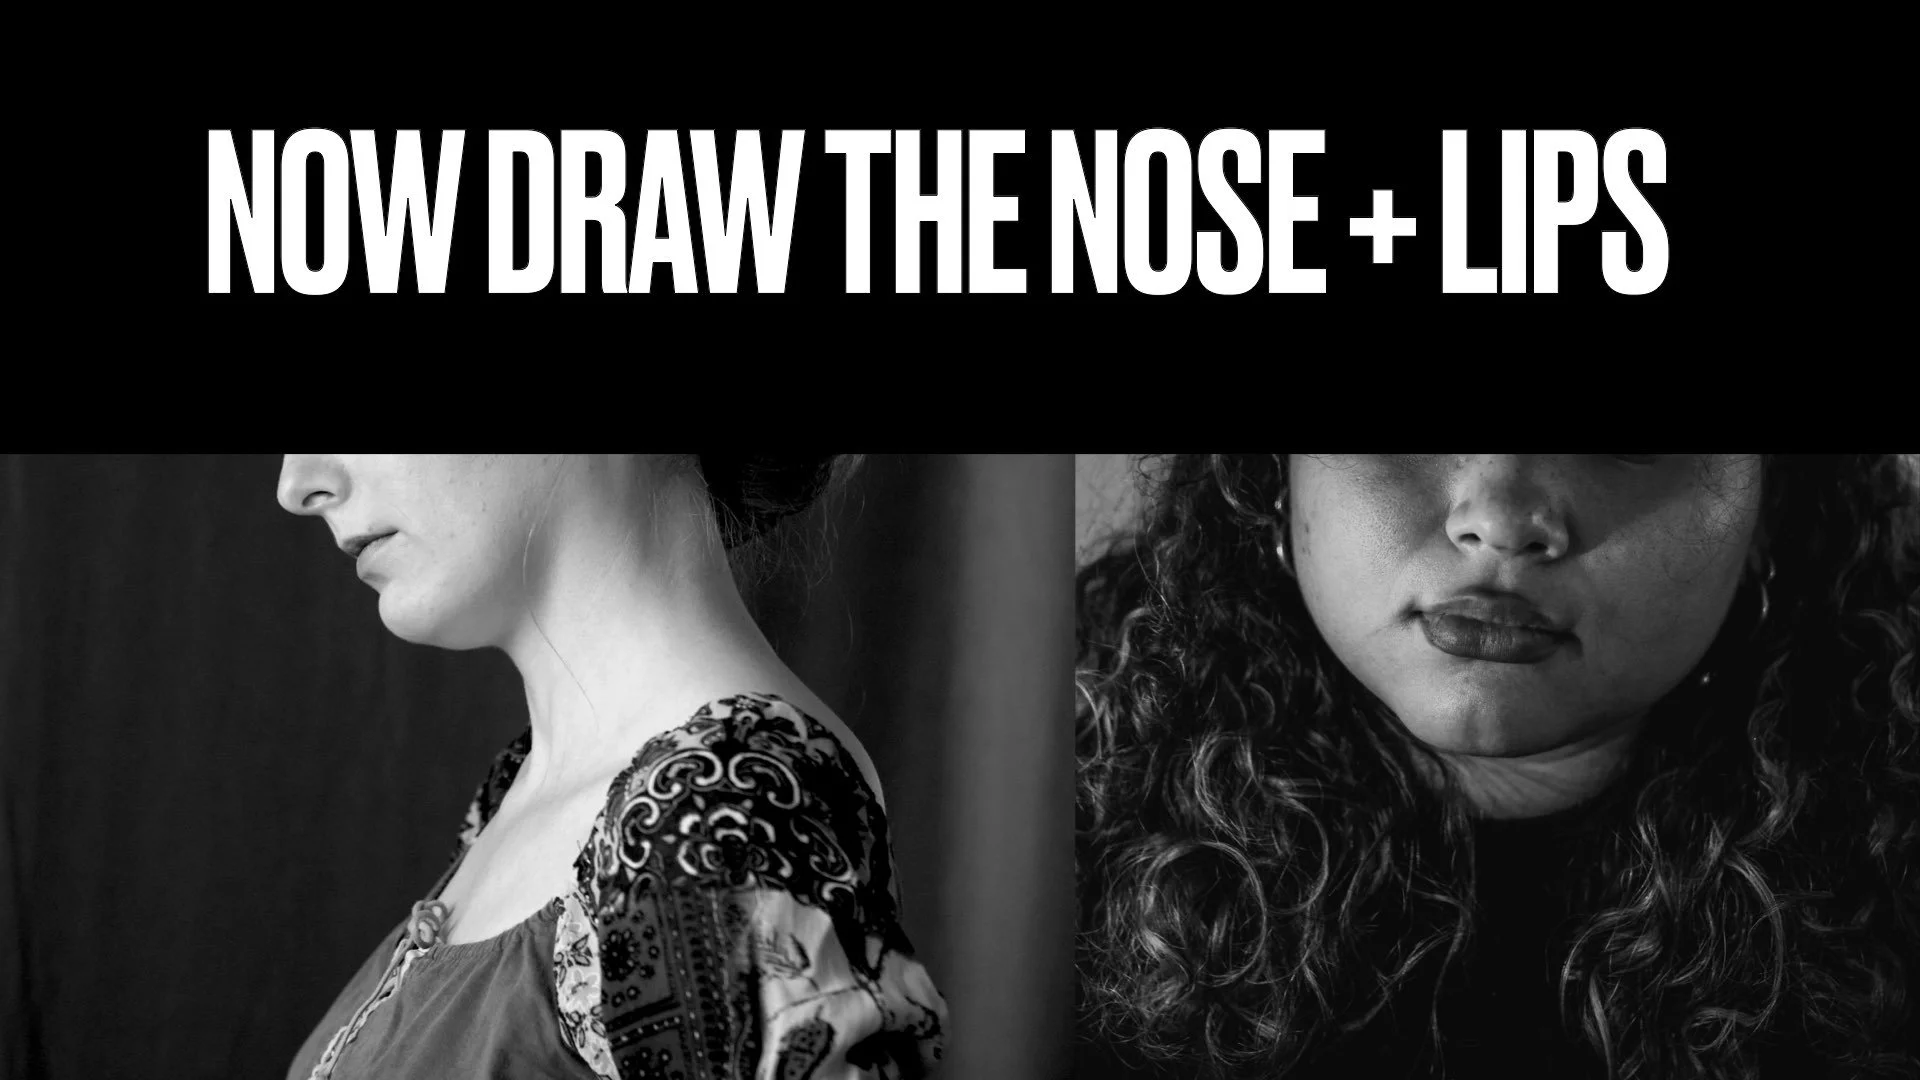
Draw the shape of the eyes, nose and mouth how you naturally would. these can be on the face shape OR separately as a study
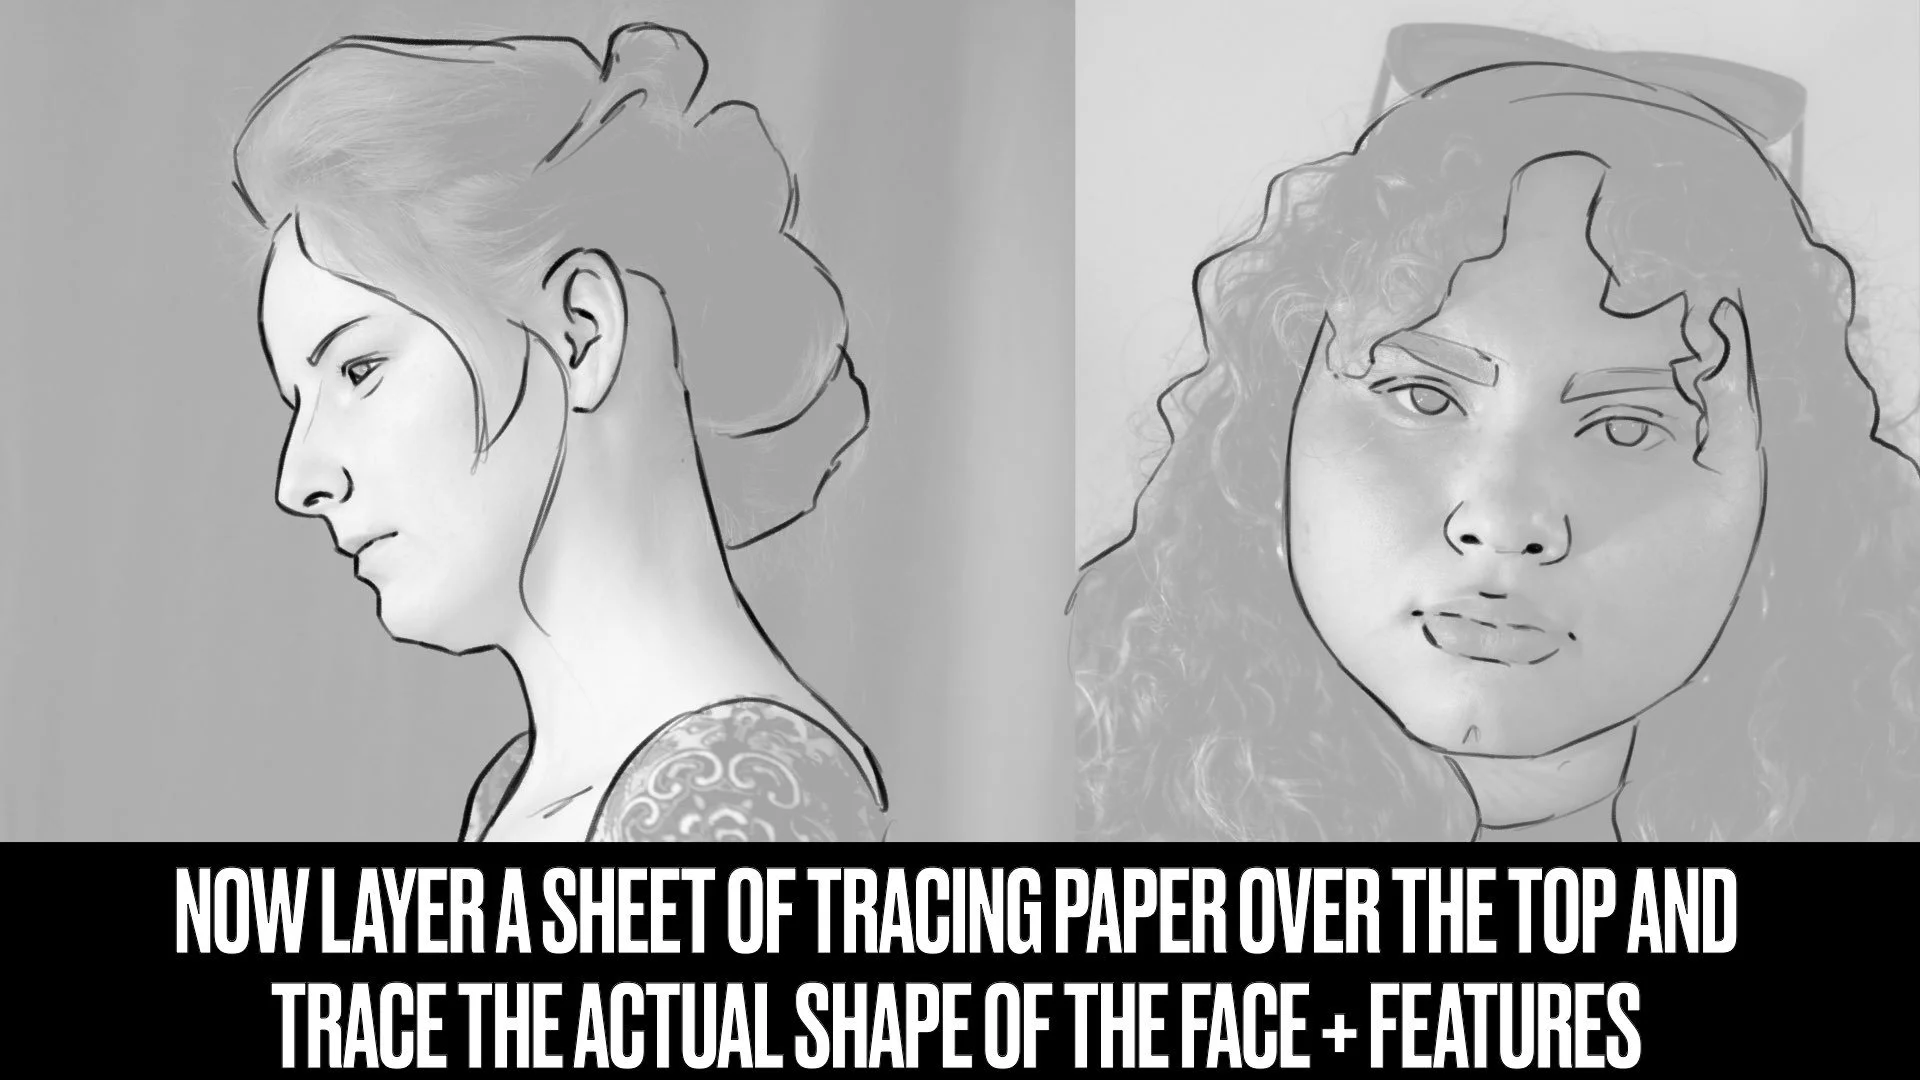
Once you’ve made your first drawing layer over a sheet of tracing/baking paper over the top of the photo and trace the actual shape of the face, hair and features.
Compare how close/different your first drawing is from the traced version. Make notes on what are the major things that stand out to you.
On the back of the tracing paper re-trace your lines. Then flip your tracing paper back over, lay it over a page in your sketchbook and then AGAIN re-trace over the lines to get a graphite print transfer in your sketchbook.
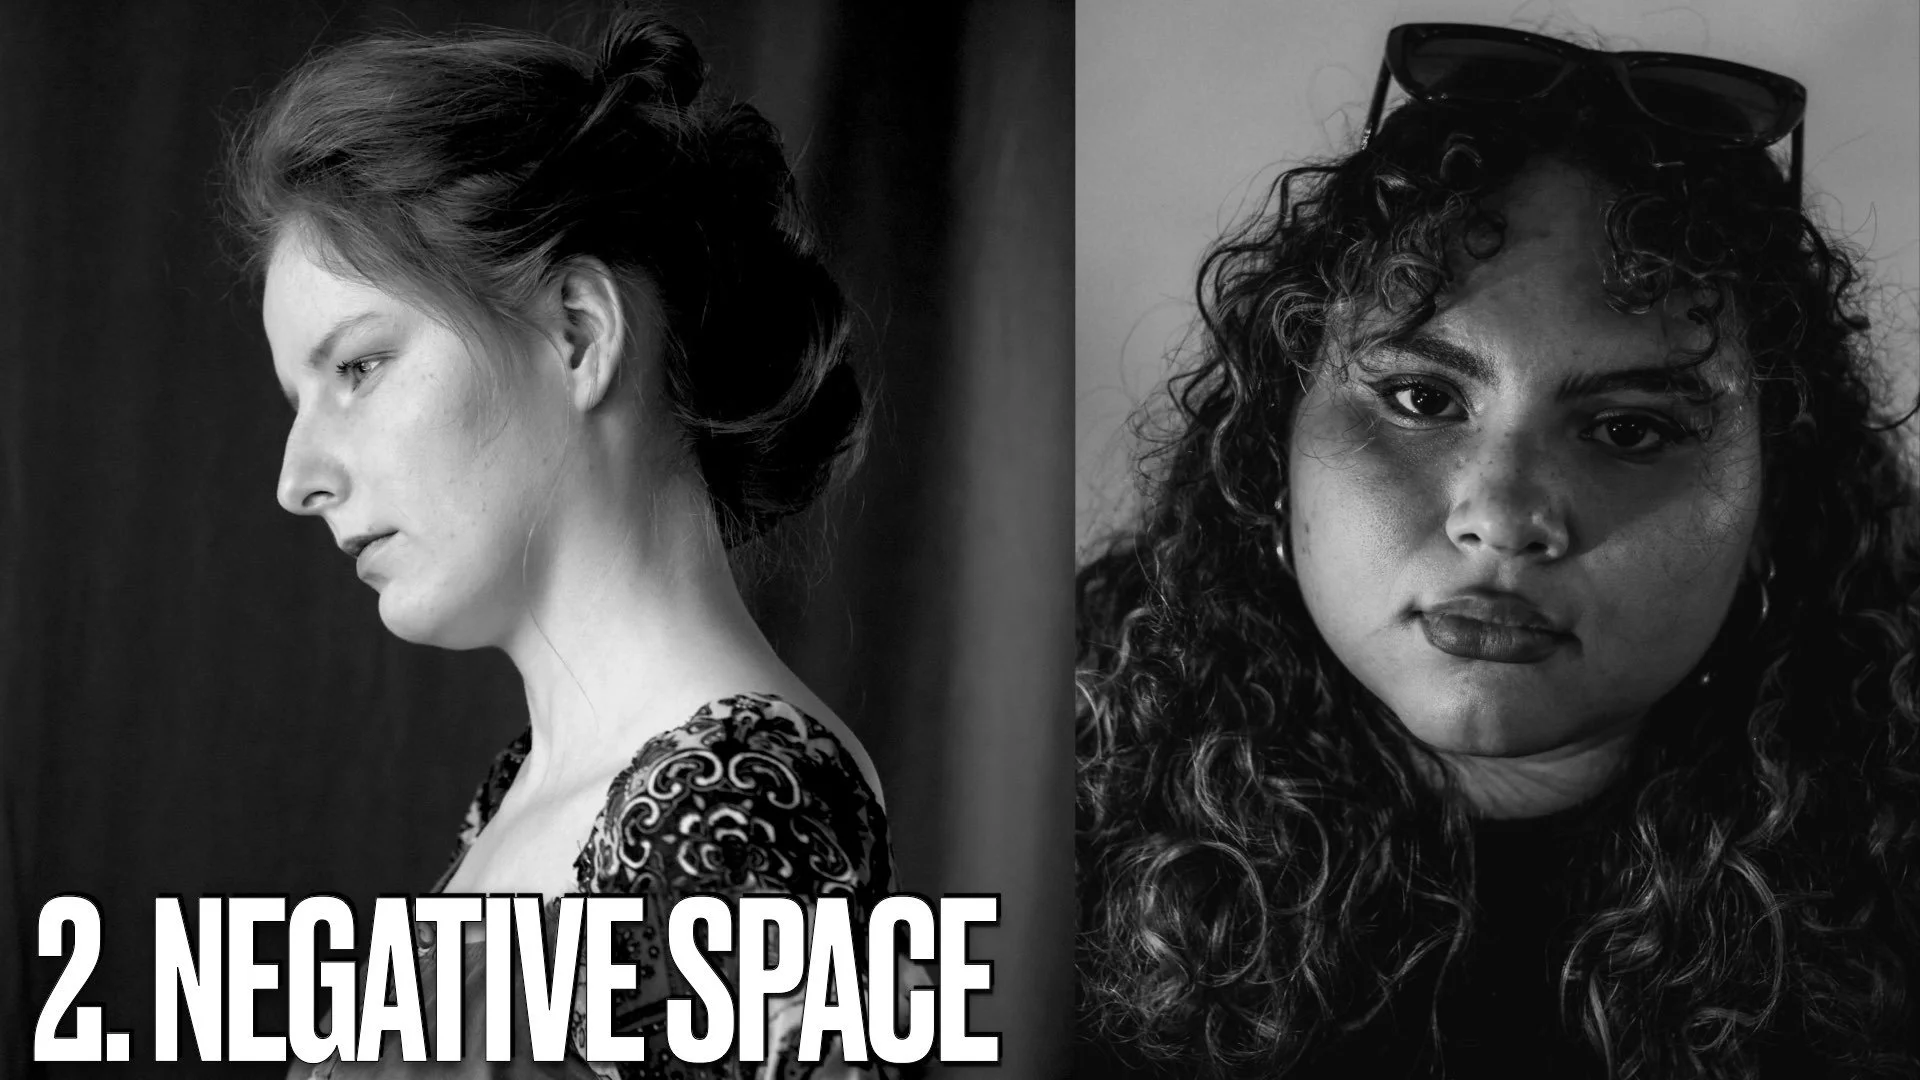
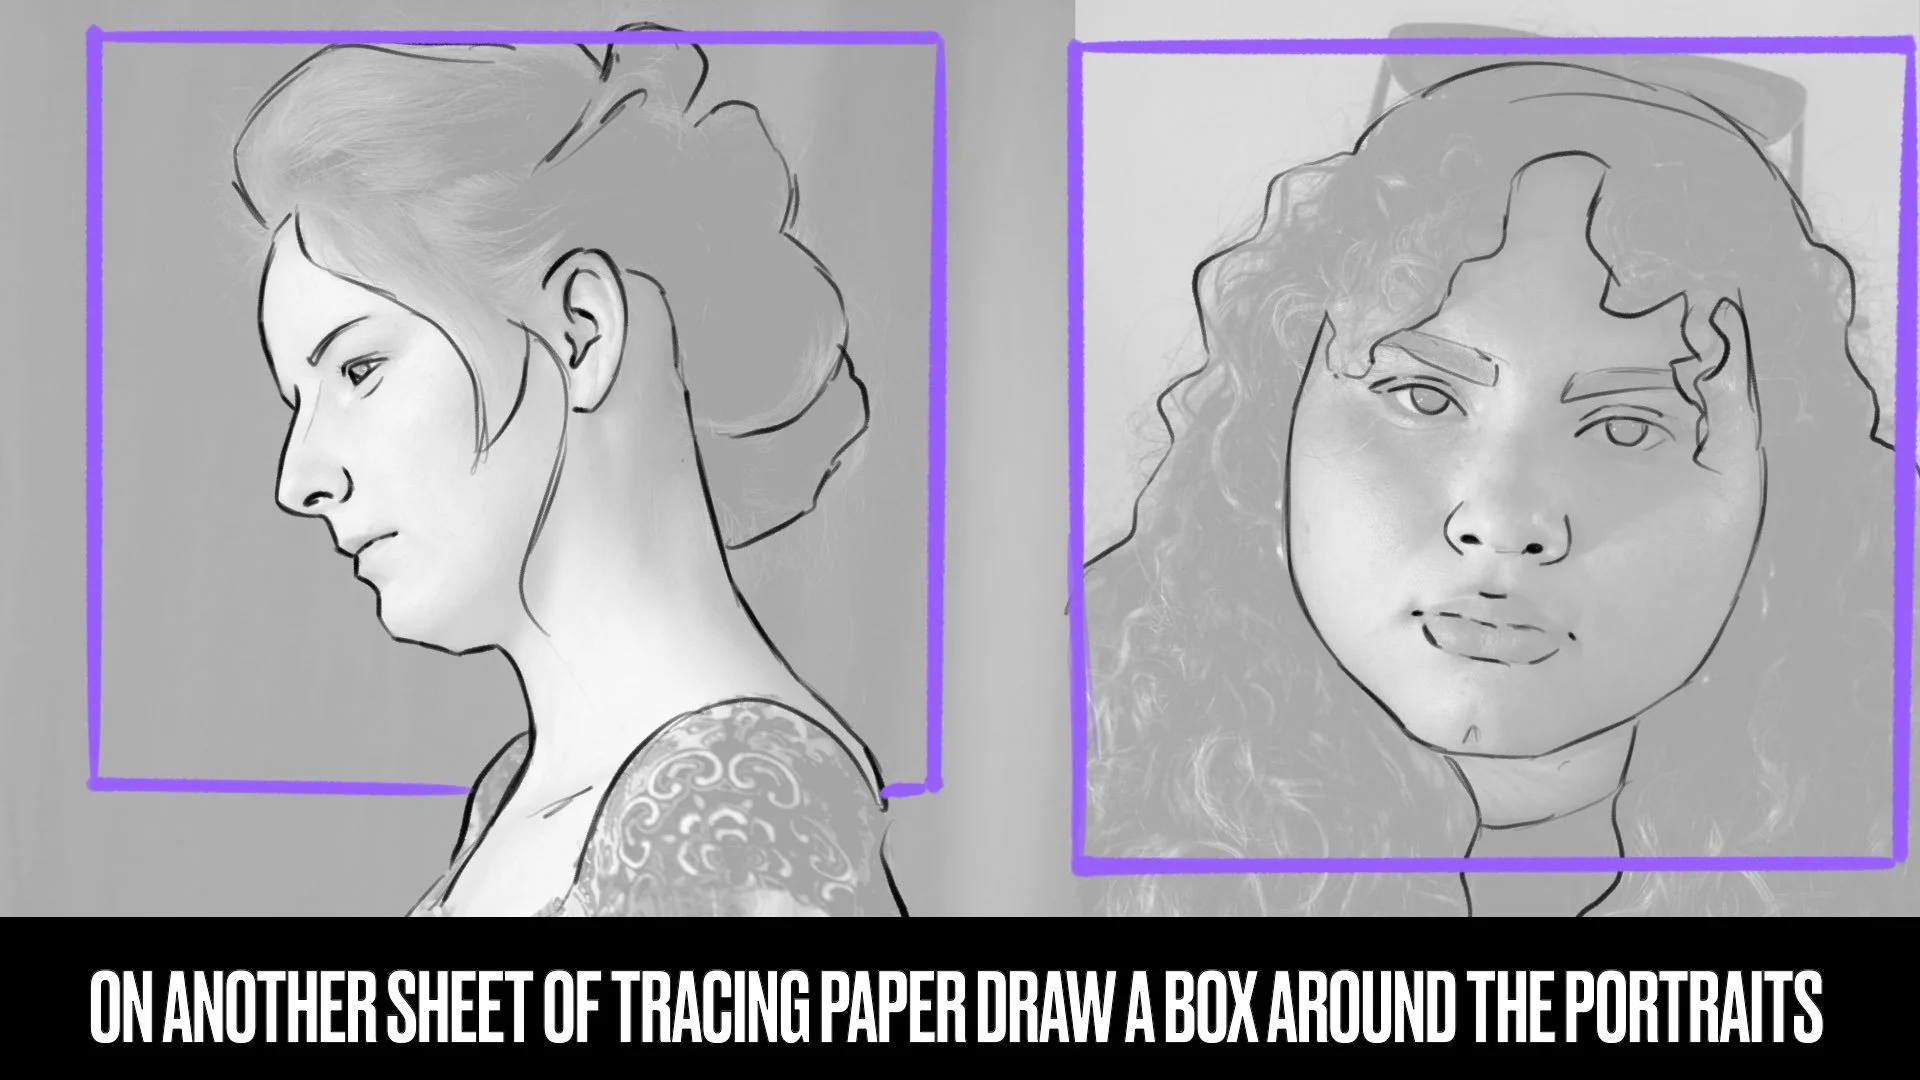
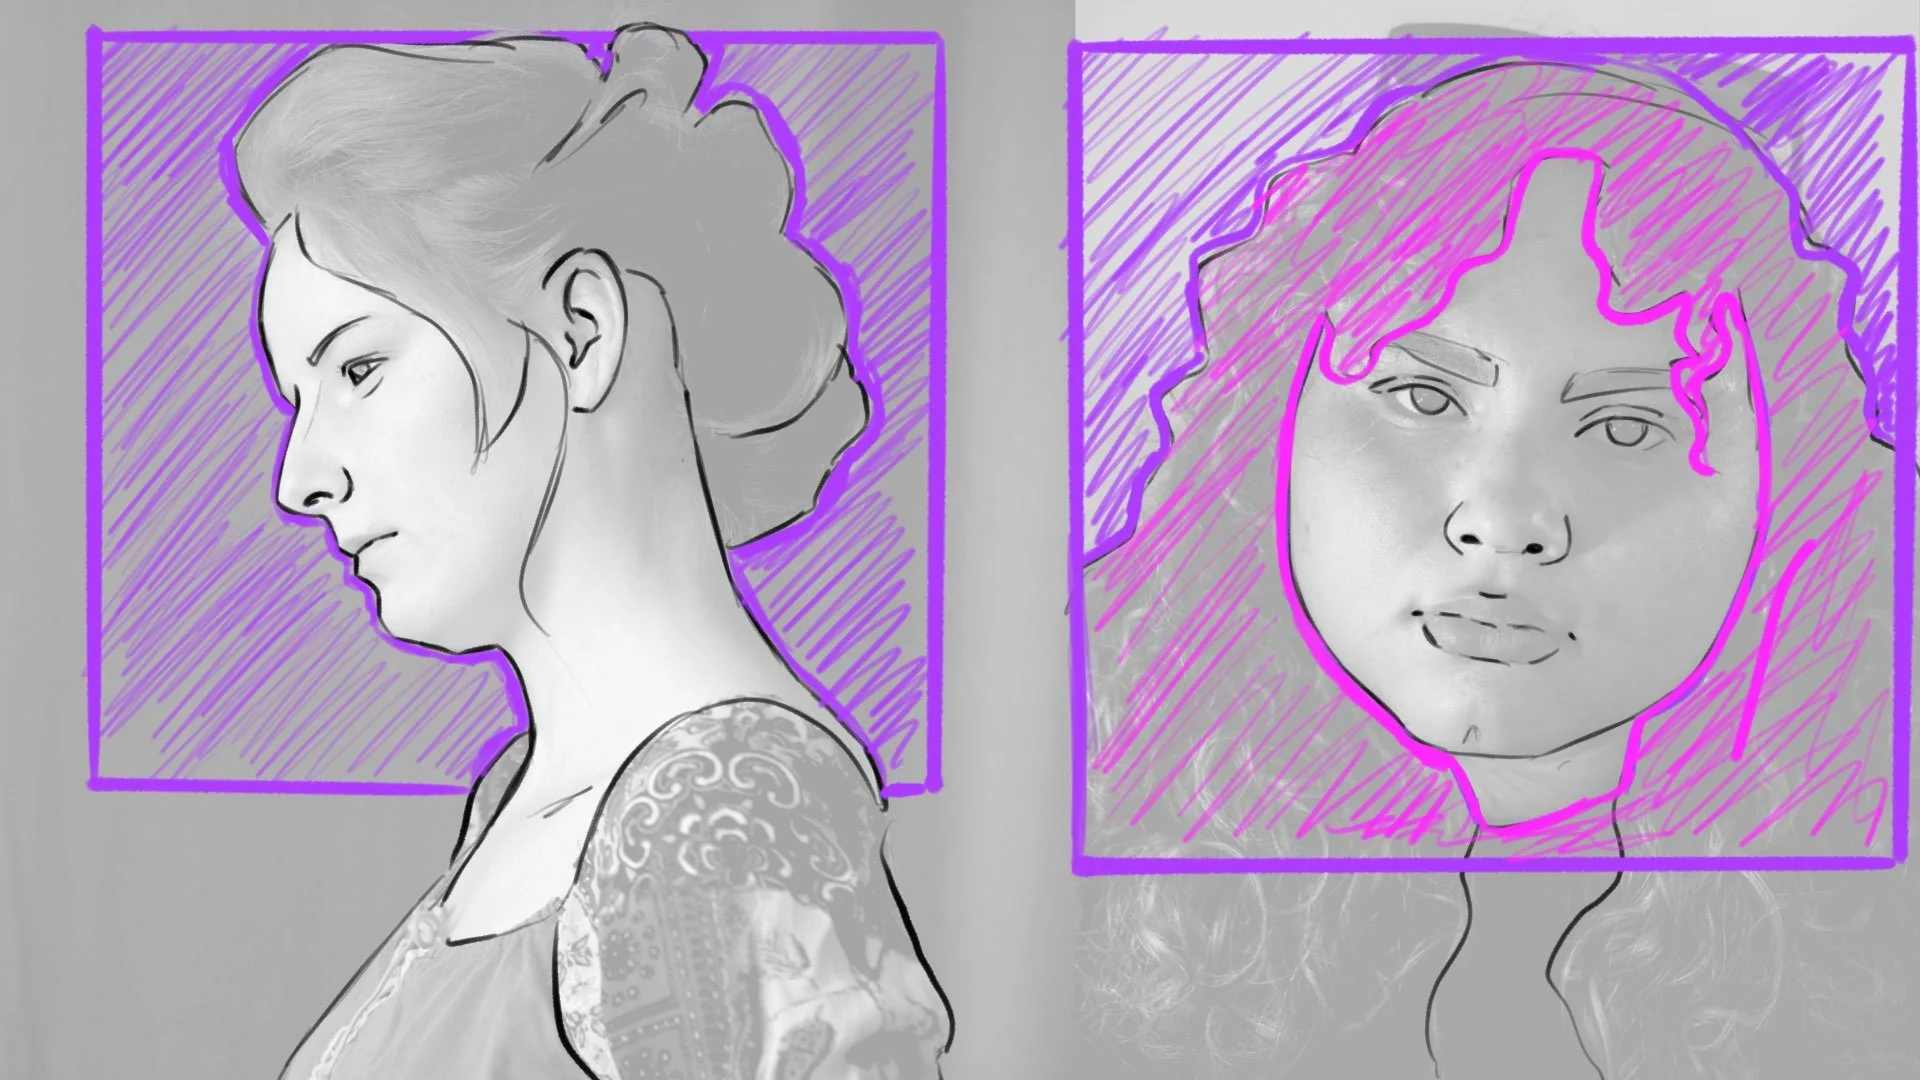
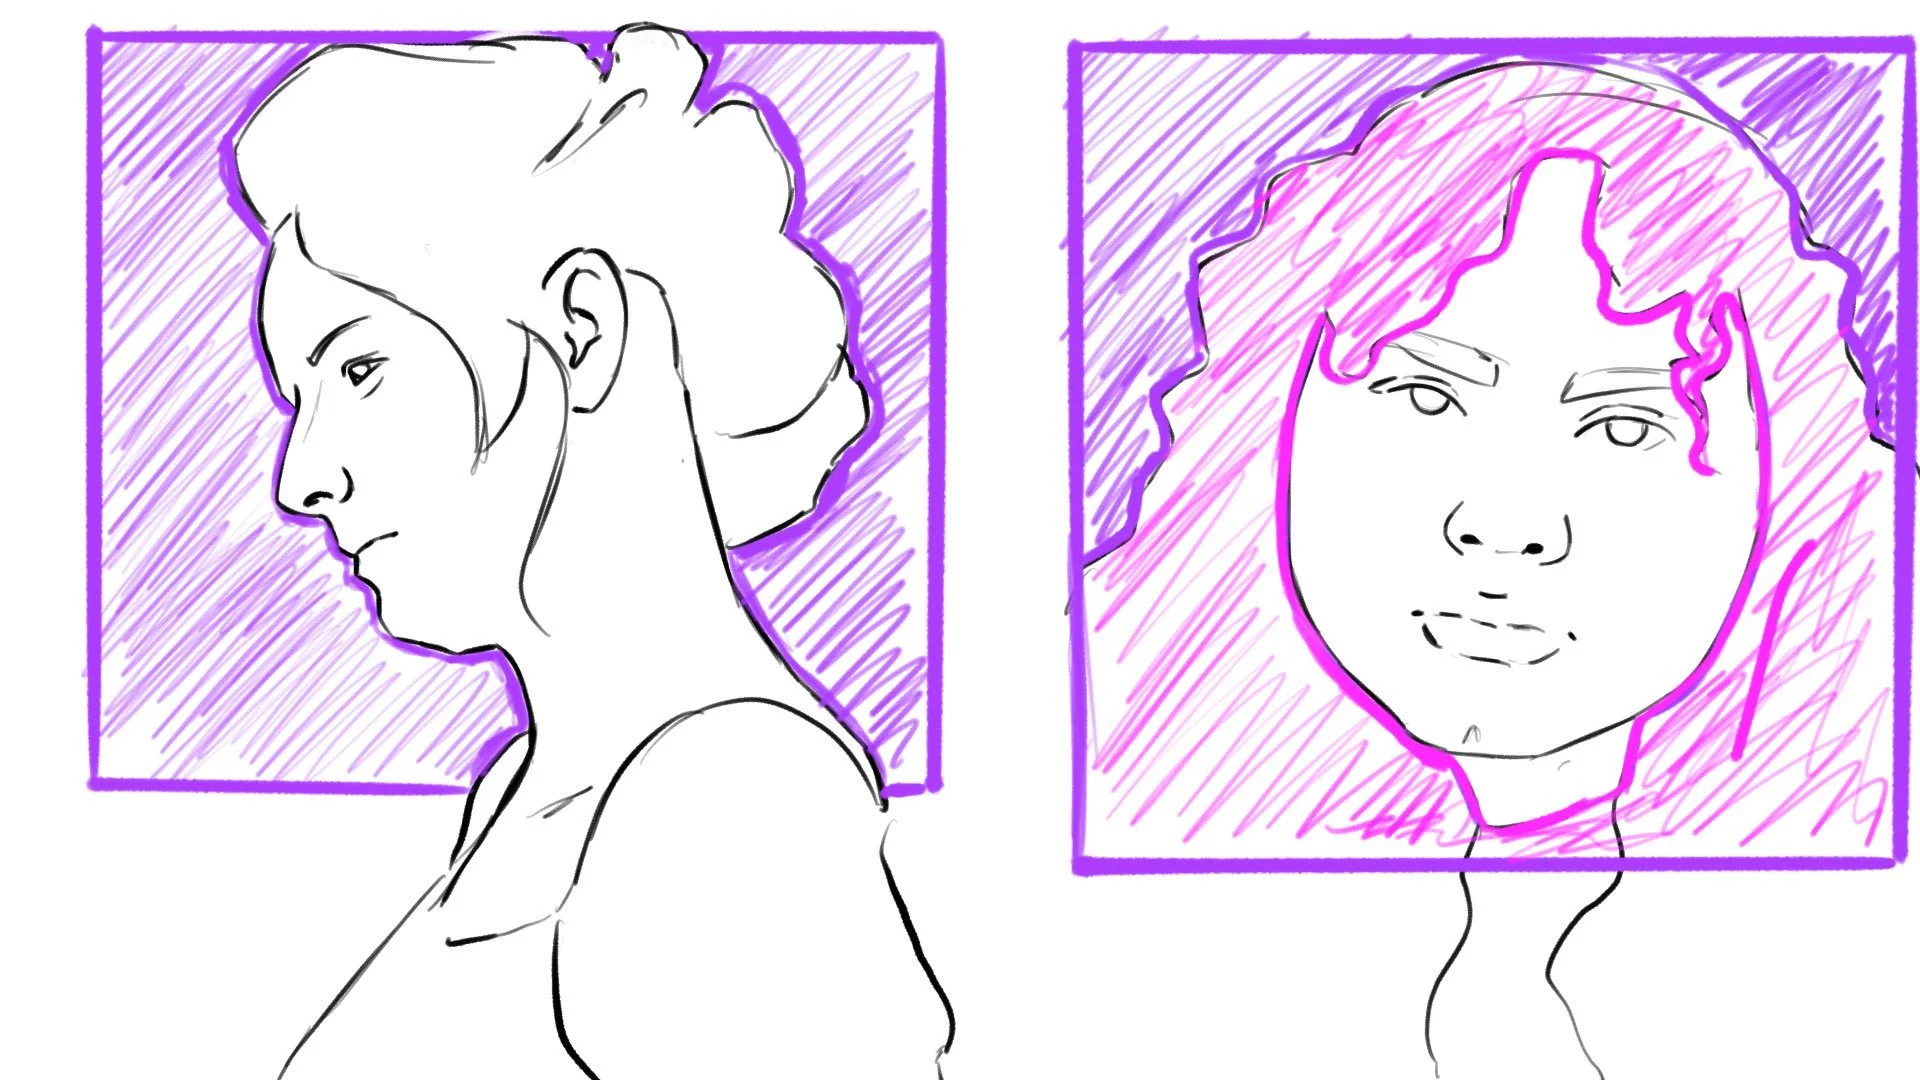
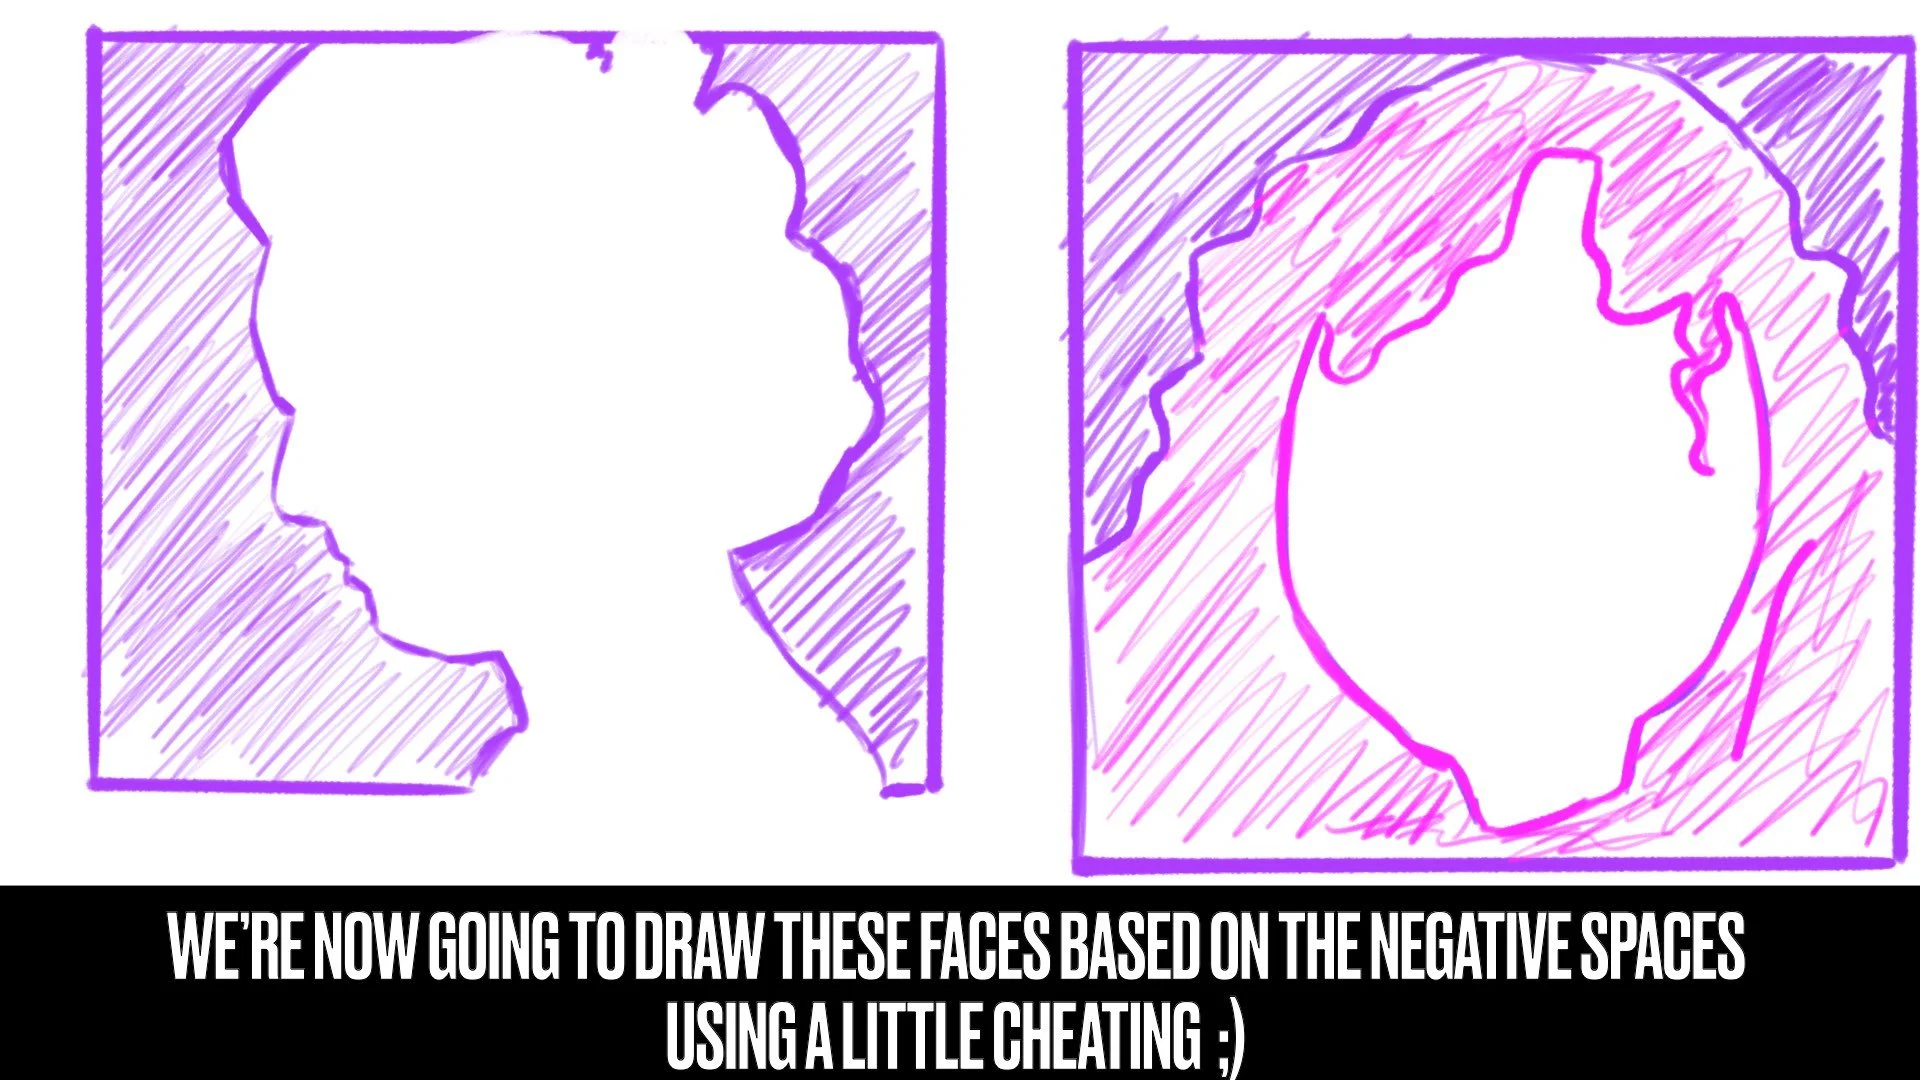
This helps you build up confidence in the actual shape of the face AND muscle memory of how to draw it.On another sheet of paper trace out the negative shapes of the background + hair (eg. in the slide show)
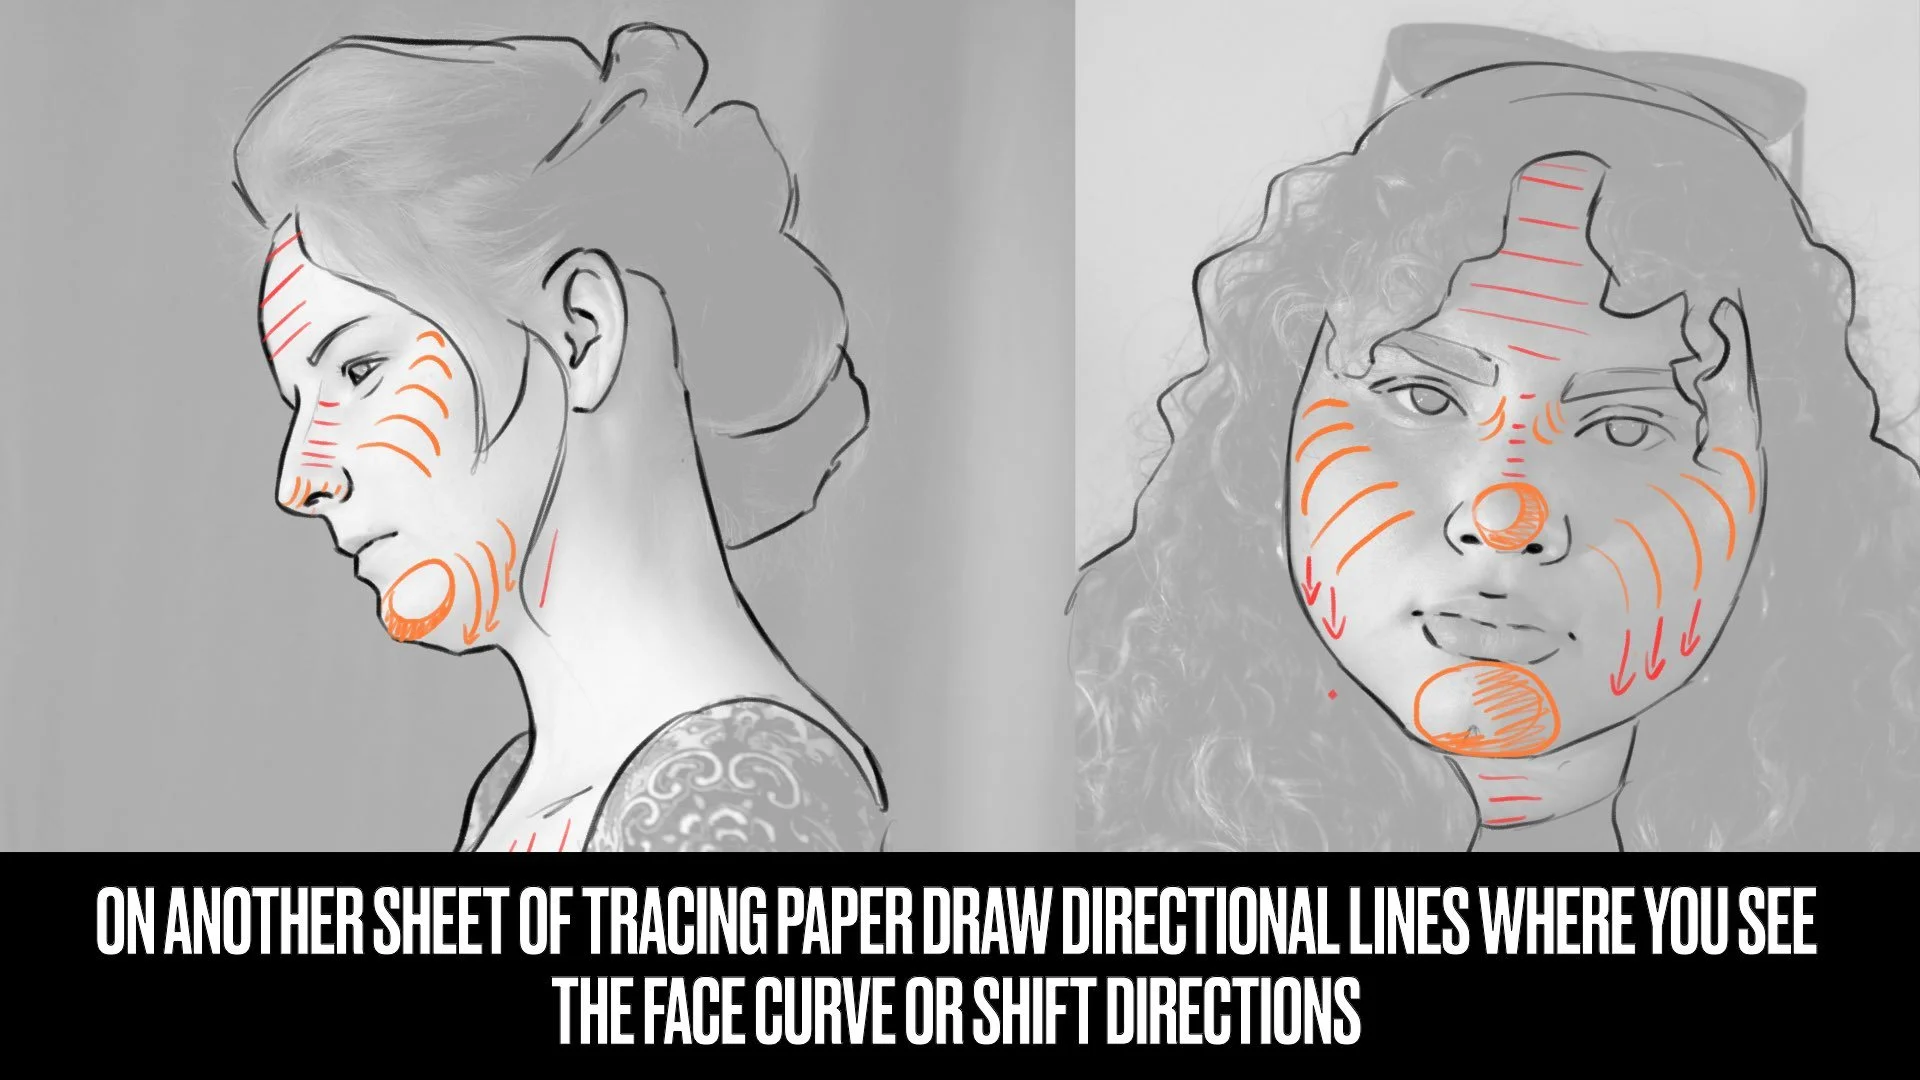
Then trace over how you see the curves of the face and the shapes of the shadows that correspond to changes in form.
When you’re happy begin to shade your graphite-print drawing in your sketchbook. Pay close attention to how unique the features are, the distance between them, and how they are effected by the fall of light.
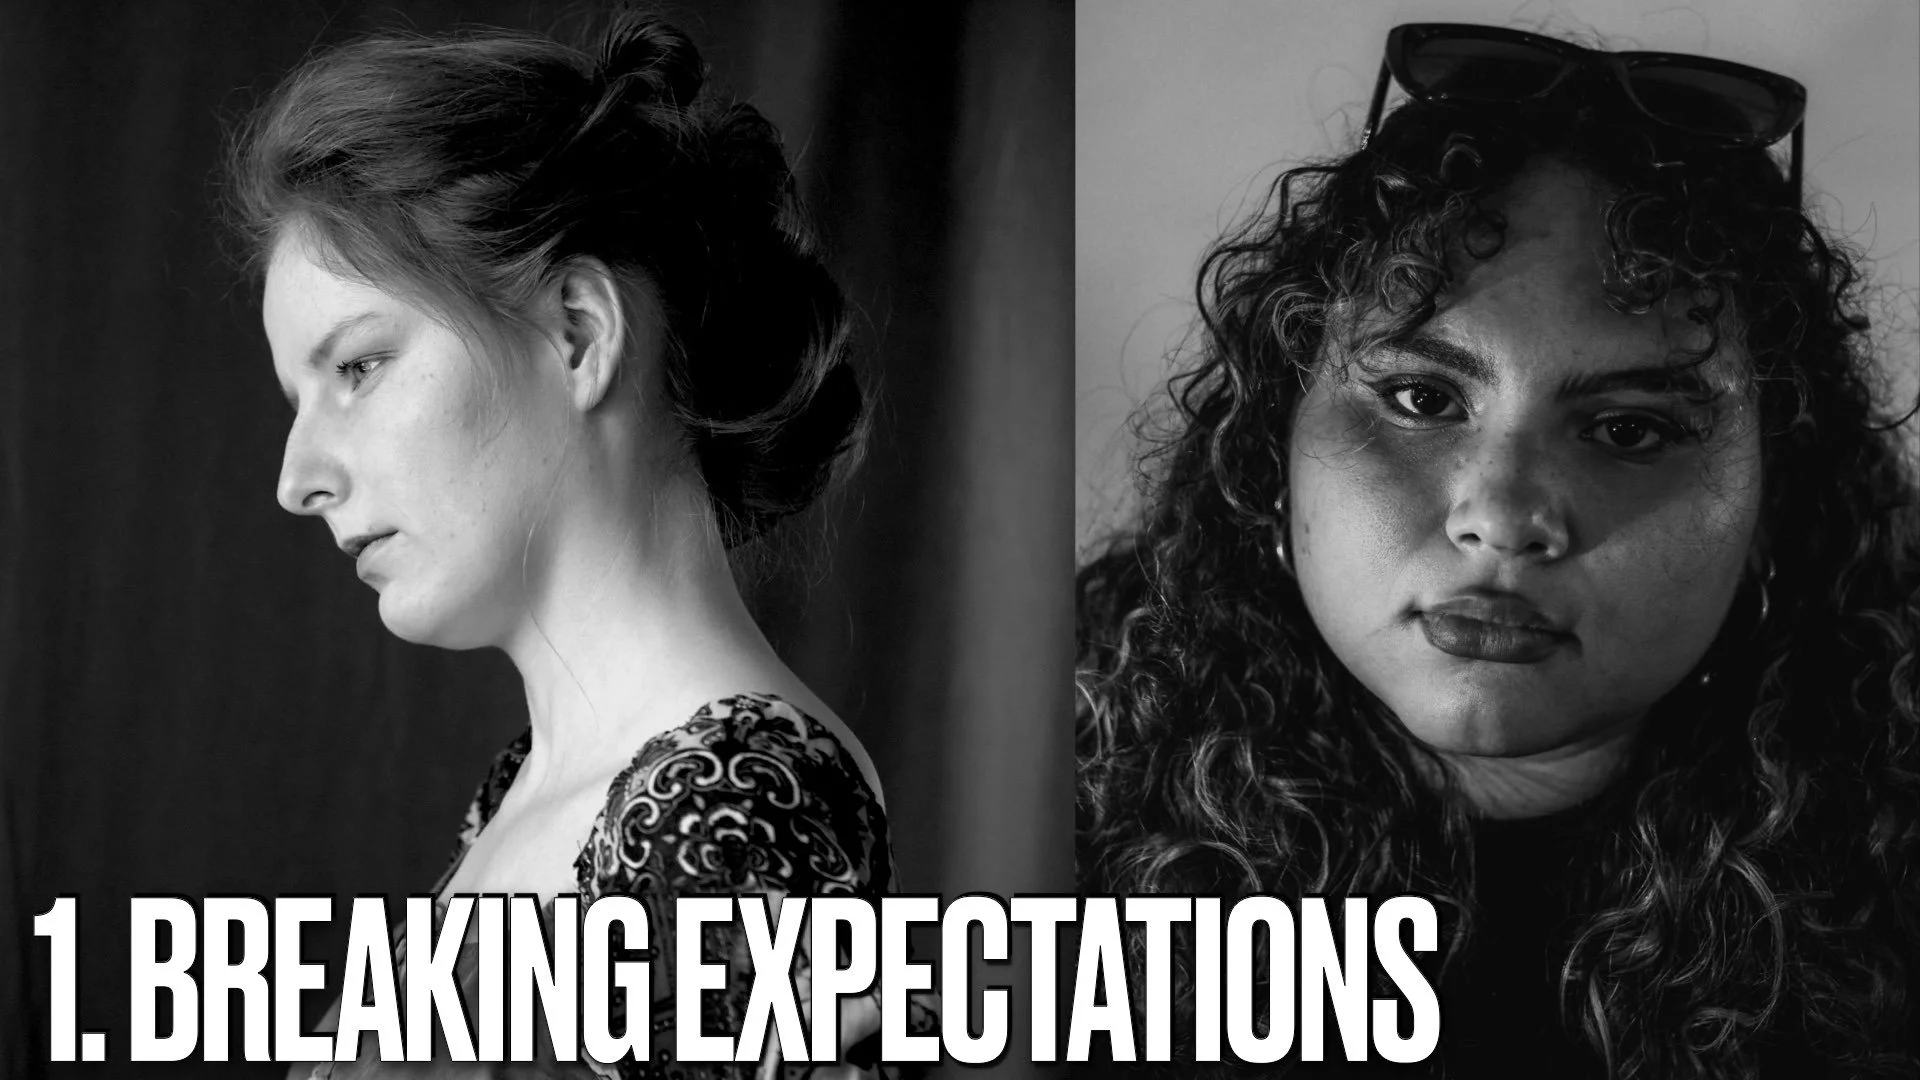
Other photos for homework:


